ISO is a measurement of your camera’s sensitivity to light.
So with shutter speed, we control the amount of light that reaches the camera. With ISO, we’re control how sensitive the camera is to that quantity of light.
Think of ISO as shutter speed’s wingman in the ongoing battle to maintain good exposure. As shutter speed needs to increase (thus, reducing light), ISO increases to make more use of that light.
The good thing about ISO is that you don’t have to put much thought into it.
First of all, you want to keep ISO as low as possible. Unlike with shutter speed and aperture, there really isn’t a good reason to have higher-than-needed ISO. Because no one really wants the effect that high ISO creates.
What does high ISO do to a photo?
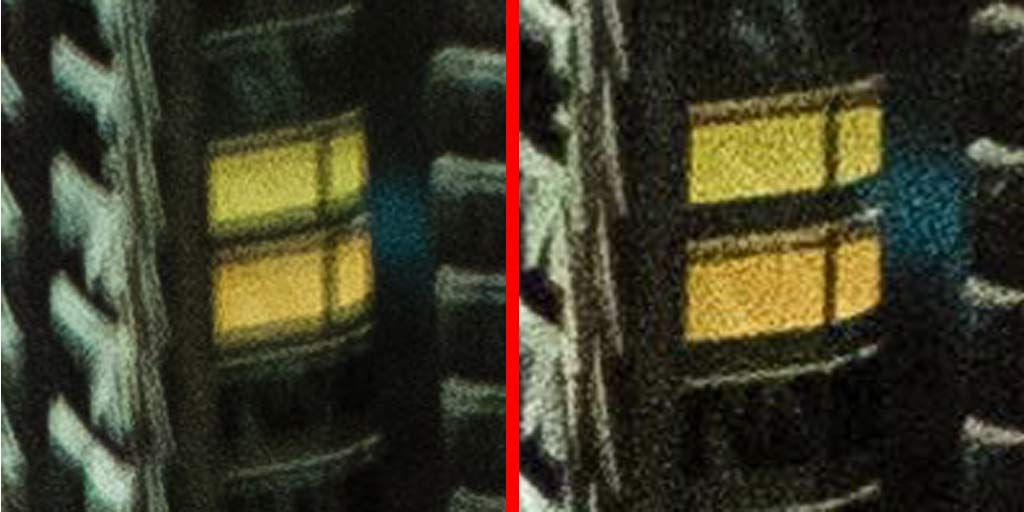
It creates noise, random pixelation that can smudge the fine detail in an image. I suppose that some photographers do enjoy this look when it evokes the “grain” texture that sensitive film has. But as colored pixels, it’s not usually flattering.
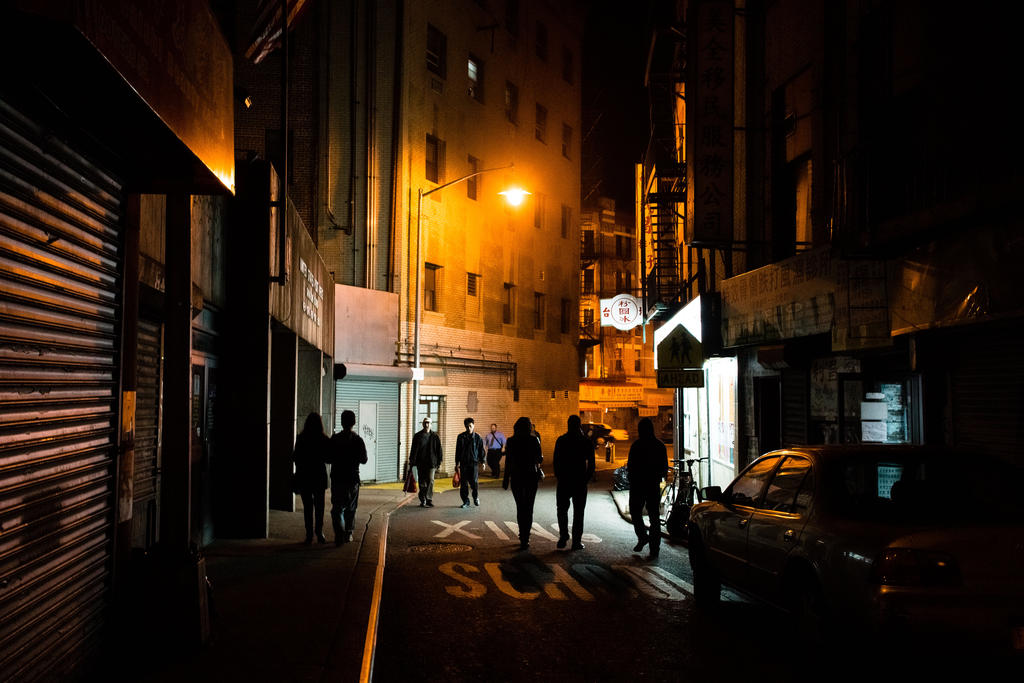
However, if I’m shooting at night, the choice is usually either a high amount of noise or unwanted motion blur. Noise is almost always the better route as you can take some steps to reduce it in post-processing.


As you can see, the right image is noisier, but retains sharper detail because it has less motion blur.
How much ISO is too much?
The biggest factor is how much you spent on your camera, which directly relates to the size and quality of its film sensor. Sean Arbabi, of Endgaget, wrote an excellent explanation of this.
On a high-end camera, such as the Canon 5D series and the Sony NEX-7, I feel perfectly comfortable at 1600 (check out DPReview’s tests here and here). On lesser cameras with smaller sensors, such as the Canon S100, I try not to go over 800.
How do you alter ISO?
The ISO setting is is often frustratingly buried in some menu, though high end cameras have a button devoted to it. ISO can be moved up and down like shutter speed in order to affect the exposure. But there isn’t (as far as I know), an ISO-priority mode.
I believe that most modern cameras have an auto-ISO setting that will waver between 100 (which is often the lowest amount of ISO) and some preset ceiling. The Sony NEX-7, for instance, can reach an ISO as high as 16,000. Its auto-mode, however, tops out at 1600.


When should you rely on the auto setting?
During the daytime, I think auto-ISO is fine, as you’ll rarely get into a situation in which the camera bumps the ISO past a level like 400. Most of the time, it’ll stick at 100, which is great.
When should you manually set the ISO?
At night time, I’ll set the ISO at the highest level that I’m comfortable with. Again, this varies with each camera. If the light conditions improve and I want to maintain the same exposure, I usually increase the shutter speed before reducing the ISO value. Again, preventing motion blur is a higher priority, in my opinion.

So ISO management doesn’t have to add too much to your multitasking. During a photo shoot, you should find a level that allows you breathing room in terms of shutter speed and leave it at that.
How do you reduce noise in an image file?
I’ll write a chapter on this in the future. But most photo editing programs, including Photoshop, have specialized noise reduction filters. They can clean up images but they can’t do magic; removing too much noise will remove the ugly pixellation, at the cost of making the entire image soft.
A word of caution: Some photographers swear that ISO 200 is too much, even in a $3,000 camera. As you can obviously tell, I’m not particularly picky about perfecting my photos so I may not be a good person to listen to. But in a good camera, I don’t see issues for anything under ISO 400, unless you plan on printing to a billboard.
But if you’re new to low-light photography, you will definitely have more issues with a slow shutter speed than you will with ISO. So I recommend just tolerating the noise until you either get a tripod or become better at holding still.
